How to Flush Coolant on Vehicles
by Contributing WriterUpdated June 12, 2017Flushing the coolant on a Vehicles is an easy task and does not require much technical skill to accomplish. It is a good idea to perform the job about once a year to clean out solid residue deposits from corrosion, antifreeze and engine coolants bound to clog the cooling system. No expensive tools are necessary to flush the coolant, since the Vehicles has a petcock to drain the radiator.
Under The Hood:
- How to Flush Coolant on a Yamaha Raptor
- How do I Flush the Coolant in a 2006 Chevy Silverado?
- How to Flush the Coolant in a Honda Civic
- How to Flush Coolant From a 2003 Camry
- How to Flush Out All the Coolant in a Toyota Tundra
How to Flush Coolant on a Yamaha Raptor
Park the ATV on a level work surface and allow the engine to cool for at least one hour.
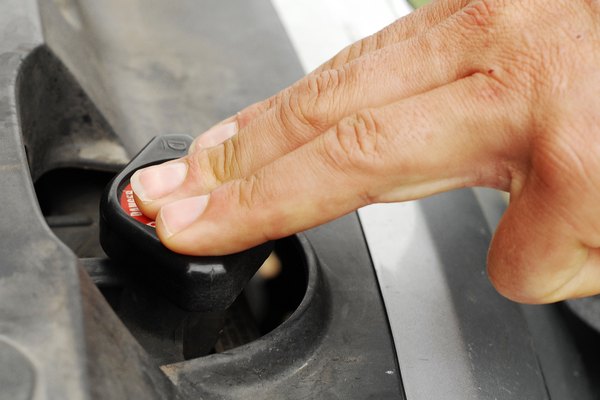
Pull the release lever on the rear of the seat, then lift the seat off the ATV. Remove the grille panel from the front fender by using a 5 mm Allen wrench.
Remove the cap from the coolant reservoir, located along the ATV's frame under the left rear fender. Hold a drain pan below the coolant hose at the bottom of the reservoir. Pull the coolant hose off the reservoir and allow the coolant to drain completely. Push the coolant hose onto the reservoir.
Remove the radiator cap, located at the bottom of the front fender grille opening.
Follow the radiator hose to the left engine cover. Remove the coolant drain bolt, located directly below the radiator hose, by using a 12 mm socket and a socket wrench. Allow the remaining coolant to drain into the drain pan, then screw the drain bolt into place. Tighten the bolt to 7.2 foot-pounds by using a torque wrench.
Mix one quart of aluminum engine-safe ethylene glycol coolant with one quart of distilled water in a plastic container. Fill the radiator with 1.37 quarts of the coolant mixture, then screw the radiator cap into place. Fill the coolant reservoir with .37 quarts of coolant or until the coolant is level with the "Full" mark imprinted on the reservoir. Push the coolant reservoir cap into place.
Start the engine and let it idle in place for three minutes. Stop the engine and check the coolant level in the reservoir. Ideally, the coolant level should be centered near or around the reservoir's "Fill" and "Full" marks. Add coolant, as needed, to raise the coolant level.
Reinstall the front grille onto the front fender. Reinstall the seat and push down on the rear of the seat until the release lever locks into place.
Items you will need
5 mm Allen wrench
Drain pan
12 mm socket
Socket wrench
Torque wrench
One quart, aluminum engine-safe ethylene glycol coolant
One quart, distilled water
Plastic container
How do I Flush the Coolant in a 2006 Chevy Silverado?
Locate the petcock underneath the radiator on your 2006 Chevy Silverado. It is on the left side if you look at the car from the front.
Place a bucket or any other receptacle underneath the drain hole of the petcock so you can capture the used radiator fluid. Make sure you do not spill any used fluid on the ground, as engine coolants and antifreezes are extremely alluring for animals due to their sweet taste. However, those substances are toxic and can kill pets.
Turn the petcock counterclockwise until the valve opens and the used radiator fluid drains into your bucket. Shut petcock after the draining process has finished.
Remove radiator cap and refill with engine coolant and water, using the funnel. In most climate zones, a 50/50 mix of coolant and water will be sufficient. Only extreme desert heat or arctic cold requires a mix of more engine coolant than water, but you should always be safe with a ratio of 75 percent coolant and 25 percent water, no matter where you live.
Tighten radiator cap and wipe off coolant that may have spilled on your engine, the radiator or the ground, using a rag.
Take the used radiator fluid to a hazardous waste collection site. Do not flush it into the sewer or toilet, as it is extremely toxic and dangerous to wildlife.
Items you will need
Funnel
Bucket
Rag
Coolant
How to Flush the Coolant in a Honda Civic
Start the car and slide the heater temperature control switch to maximum heat. Allow it to run for one minute, then turn the car off.
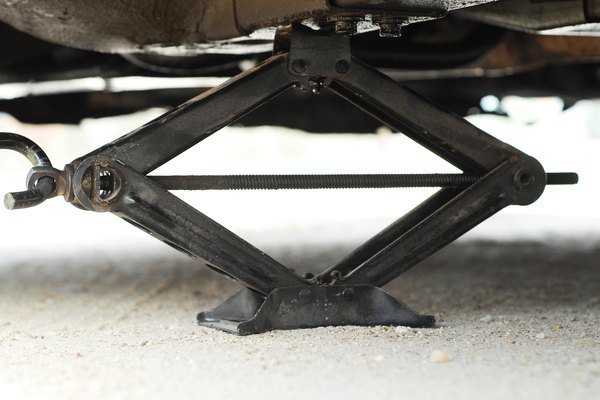
Use the jack to lift the car and safely secure a jack stand on either side of the vehicle. Raise it high enough that you can fit comfortably beneath it with clear visibility.
Pop the hood and make sure that the radiator and engine block are cool to the touch. Only begin work if you haven't recently driven the car. Otherwise the cooling system will be under pressure, putting you at risk of being scalded.
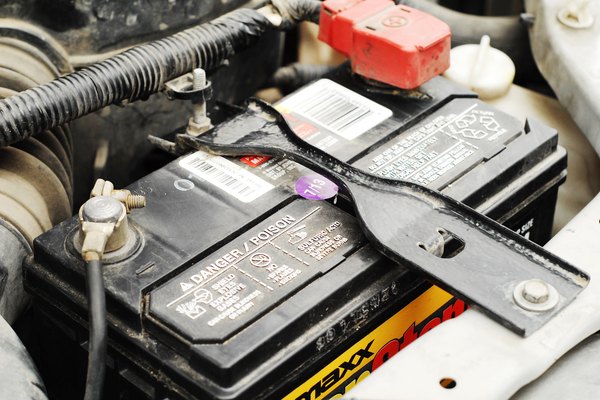
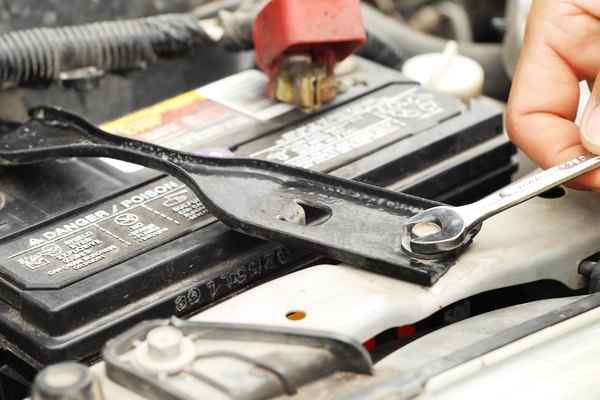
Locate the battery for removal. In most Honda Civics, it is found in the upper left side of the engine compartment. The battery is the black box with two cables attached to the top of it.
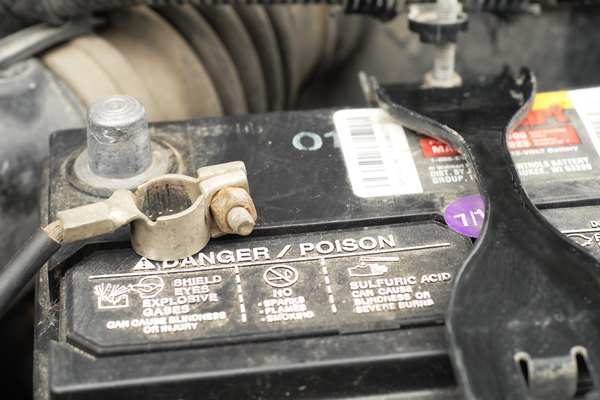
Always disconnect the negative terminal on the battery first to prevent short-circuiting the positive terminal to a grounded part of the vehicle. The negative will be labeled with a minus sign. Loosen the metal clamp with your wrench and slide it off the terminal. Now disconnect the positive terminal using the same method.
Unfasten the battery holder and carefully lift the battery from the car. Batteries can be fairly heavy, so take your time.
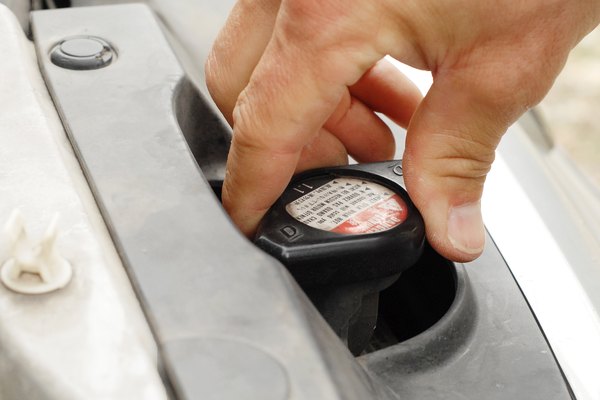
Locate the radiator near the front of the engine compartment and slowly release the radiator cap on top.
Fashion the oil pan directly below the radiator to catch the coolant. Put your protective eyewear on and loosen the drain plug located at the bottom of the radiator to flush the coolant.

Items you will need
8mm or 10mm wrench
Protective eyewear
Jack with stands
Oil pan
How to Flush Coolant From a 2003 Camry
Park the Camry on a flat surface and allow it to sit until the engine is cool to the touch. Loosen the radiator cap to its first stop to relieve any residual pressure in the cooling system, then remove the radiator cap.
Pour a cooling system flush chemical into the radiator and close the radiator cap. Start the engine and let it run for the time specified by the flush chemical’s instructions. Shut the engine off and allow the vehicle to sit until the engine is cool to the touch.
Loosen the radiator cap to its first stop to release any residual pressure, then remove the radiator cap.
Raise the front of the vehicle with a floor jack and slide jack stands under the Camry’s subframe. Lower the vehicle onto the jack stands.
Crawl under the Camry until you can clearly see the lower passenger’s side of the radiator. Find the petcock, the drain valve, on the lower passenger’s side.
Position a drain pan under the petcock and turn the petcock counterclockwise to open it and start the flow of coolant into the drain pan. Turn the petcock counterclockwise once the flow of coolant stops.
Move toward the rear of the vehicle until you can see the rearmost part of the engine block. Find the engine block drain plug roughly halfway up the block, just under a freeze plug.
Set the drain pan under the drain plug and remove the drain plug with a ratchet and socket. Allow all of the coolant to drain from the engine.
Clean the drain plug with a clean, lint-free cloth and hand-thread it into the engine. Tighten the drain plug to 18 foot-pounds using a torque wrench and socket.
Raise the vehicle off the jack stands and remove the jack stands. Lower the vehicle to the ground.
Fill the radiator with clean water, then start the engine. Turn the heater onto its highest settings. Watch the water level in the radiator and add water each time the level drops. Once the level remains steady, tighten the radiator cap and allow the engine to reach operating temperature, which is roughly halfway up the temperature gauge. Allow the engine to idle for an additional five minutes after operating temperature, closely monitoring the temperature gauge the entire time.
Shut the engine off and allow the vehicle to sit until the engine is cool to the touch.
Repeat steps 3 through 12 until only clean water flows from the engine and radiator.
Pour 50-50 premixed ethylene-glycol-based coolant – green – into the radiator until the level reaches the base of the filler neck. Start the engine and allow it to idle. Turn the heater to its highest settings.
Let the vehicle idle until the upper radiator hose gets hot and the cooling fan turns on. Each time the coolant level in the radiator drops, add additional premixed coolant to bring the level up to the base of the filler neck. As the coolant level falls, it is displacing air pockets and bleeding the cooling system.
Tighten the radiator cap onto the radiator once the coolant level remains steady. Turn the engine off and allow it so sit until the engine is cool to the touch.
Check the coolant level in the coolant overflow tank and verify that the level is between the “L” and “F” lines on the overflow tank. If needed, add 50-50 premixed coolant to the overflow tank to bring the coolant between the “L” and “F” lines. In total, the Camry’s cooling system holds 1.65 gallons of coolant.
Take the old coolant to a used automotive fluid recycler for disposal. Some auto parts stores take old fluids free of charge.
Items you will need
Cooling system flush chemical
Floor jack
Jack stands
Drain pan
Ratchet
Socket set
Clean, lint-free cloth
Torque wrench
Clean water source
2 gallons 50-50 premixed ethylene-glycol-based coolant
How to Flush Out All the Coolant in a Toyota Tundra
Park the truck on a flat spot. Allow the truck and coolant to cool for an hour. Pop the hood and unscrew the coolant cap.
Lay under the engine of your Toyota Tundra. Unscrew the four bolts holding the plastic skid protector to the frame under the engine. Remove the plastic skid protector.
Position the bucket under the driver side of the radiator. Unscrew the drain plug bolt on the base of the radiator located on the driver side. Allow all the coolant to run out.
Locate the three-inch-diameter hose between the base of the radiator and the base of the engine block. Unscrew the clamp holding the hose to the engine block. Position the bucket under the hose. Pull the hose off and allow any coolant in the hose or engine block to drip into the bucket. Reattach and tighten the hose. Screw the drain plug back into the radiator.
Replace the plastic skid protector under the engine.
Items you will need
Wrench Set
Bucket
Safety glasses


